


 24/7 Emergency Service
SERVPRO: How to repair water-damaged drywall?
5/23/2022 (Permalink)
Blog summary: The SERVPRO blog discusses the step-by-step procedure to repair drywall damaged by water.
How to repair water-damaged drywall?
Slowly leaking water or sudden flooding can damage drywall and lead to multiple problems like cracks and holes in the drywall, mold growth, and/or warping and buckling of the wall, which requires a swift repair or replacement. SERVPRO, a water damage restoration company, shares the signs of drywall water damage and how to manage a drywall repair/replace DIY project keeping in mind all the safety measures.
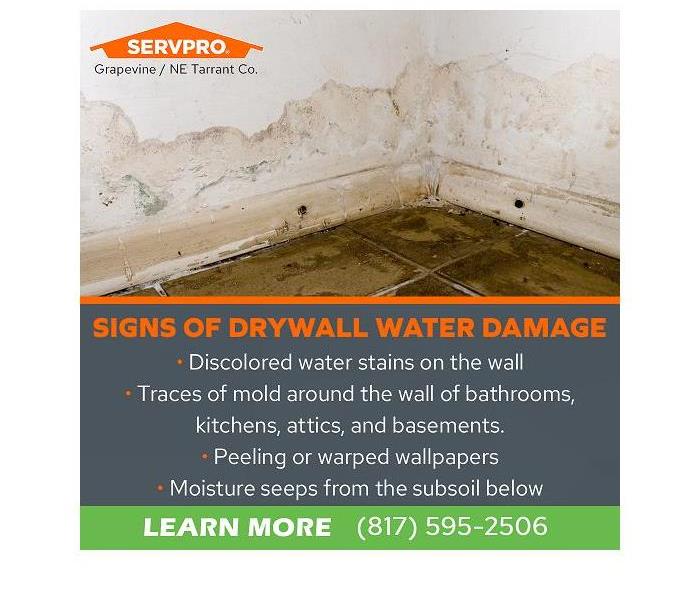
Signs of Drywall Water Damage
- The most obvious sign of damaged drywall is a discolored water stain on the wall.
- Traces of mold around the wall of bathrooms, kitchens, attics, and basements. These damp places are most prone to mold growth. Peeling or warped wallpapers must also be inspected.
- Signs of water damage can be seen on the flooring when moisture seeps from the subsoil below. Any cracks or holes in the floor should be checked.
In case of overhead ceiling drywall damage, a DIY project must be avoided due to the risk of the ceiling collapsing. Moreover, drywall water damage caused by a sewage backup is a major safety hazard for DIY restoration. In such cases, a professional restoration team must be contacted.
Steps to repair water-damaged drywall
Step #1
Locate the source of the water damage and shut off the supply immediately, if possible. Extract the standing water using vacuums and available equipment. Dry the area to ensure there is no moisture lurking in corners and niches. This step must be performed swiftly as standing water left too long can lead to secondary water damage i.e. mold.
Step #2
Remove all water-soaked furniture and other contents in the area to let the floor air out.
Step #3
Ensure that all safety precautions are followed:
- Wear respiratory protection to protect from the asbestos present in most older drywalls. If asbestos is present it is best to call in a professional.
- Switch off the circuit breakers and remove damaged and undamaged electrical outlets before tearing out wall material.
Step #4
Assess the area of the damaged drywall that needs to be cut out by checking the water level. For instance, if the water level is:
- Less than two-and-a-half feet, it would require the removal of four feet of the wall.
- Greater than two-and-a-half feet requires that eight feet of the drywall be removed till the ceiling junction.
Removing the extra wall material makes reinstalling full sheets of drywall easier.
Step #5
Discard all the cracked, crumbling, or sagging drywall along with the damaged wall studs, flooring, cabinets, and ceilings. In case of water damage due to clean water, certain parts can be dried.
Step #6
To cut the damaged part of the drywall, there are some steps to be followed:
- Using chalk, mark a straight line along the wall where the water stopped wicking.
- With the help of a utility knife, cut along the chalk line one-half or three-quarters of the way through the thickness of the drywall.
- Knock a small hole in the damaged drywall using a hammer to create a secure hold while loosening the cutout portion. Remove carefully.
- Take out all the insulation such as fiberglass, mineral wool, cellulose, and wood fiberboard to dry. Foam plastic insulation can be left in place to dry.
Step #7
Start drying out the area around and inside the damaged wall with the help of high-efficiency blowers and dehumidifiers. Open the windows and doors and leave the fans on for at least 2 days to increase the airflow behind walls and allow complete drying.
Step #8
Sanitize the area between walls with an appropriate chemical to prevent mold and bacteria growth. Avoid bleach. If the odor is severe, vacate the area and use an ozone machine for at least eight hours.
Step #9
To install new drywall, measure the size of the cut-out hole. Put four drywall clips around the hole and secure each one with a drywall screw. Insert the drywall pieces and secure them to drywall clips. Don’t over-tighten the drywall screws. Blend it in with the existing drywall with drywall tape and joint compound, and sand the area for a smooth wall surface.
Step #10
Paint the new drywall with a primer after the joint compound is completely dry. Then paint the entire wall a uniform color.
Why SERVPRO?
Faster to Any Size Emergency
No matter where and how big the disaster is, SERVPRO offers property damage restoration services across 1,700 US and Canadian franchise locations swiftly. The vast network of resources available to SERVPRO enables it to act immediately and efficiently. A 24X7 emergency response gives SERVPRO the ability to arrest any disaster quickly and save huge amounts of money, time, and energy.
Advanced Technology
SERVPRO is a flood restoration company that uses state-of-the-art equipment to bring the damaged property back to its original state. SERVPRO of Grapevine / NE Tarrant County is always updating its fleet and equipment so clients in Southlake, Grapevine, Keller, or anywhere else can quickly access the services.
Certified Professionals
The SERVPRO staff is highly trained in the water damage restoration process and other restoration services. They receive initial in-house training and constant skill up-gradation at the corporate training facility and also acquire the regular IICRC-industry certification.
For water damage restoration services, contact Team Shaw of SERVPRO of Grapevine / NE Tarrant County at (817) 595-2506 or e-mail at office@SERVPROheb.com